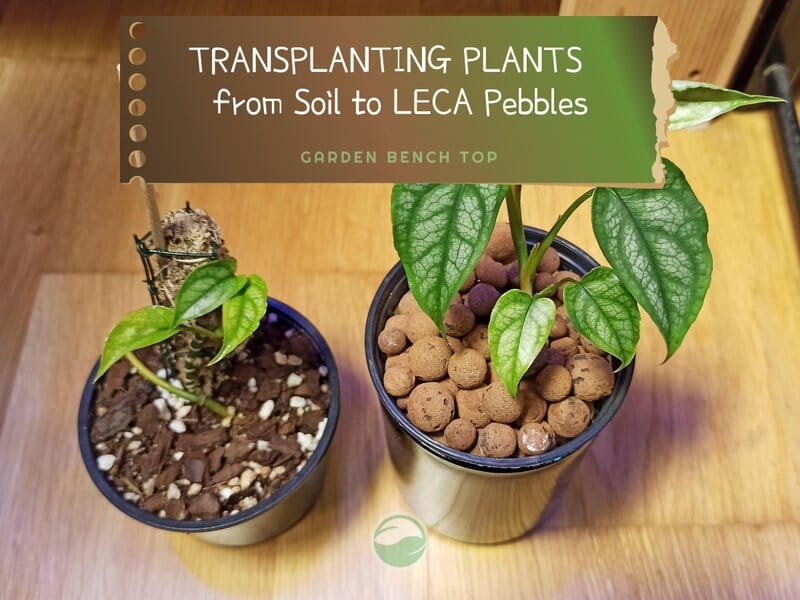
Beginners Guide to Transplanting from Soil to LECA Clay Pebbles
LECA clay pebbles are a popular growing medium for indoor plants and seedlings. This soilless system is an excellent alternative to traditional soil-based gardening. This guide will explore how to transplant your plants to a LECA (lightweight expanded clay aggregate) medium.
TL;DR
- time and patience are critical when transplanting from soil to LECA clay balls,
- hasty transplanting procedures result in shock and weakened plants,
- prepare your LECA balls by cleaning and sterilizing them before use.
There are many reasons why you may want to transplant your plants from soil to a semi – hydroponic medium, like LECA clay pebbles. Such as:
- LECA is a neutral medium that is sterile and doesn’t attract bugs and diseases to your plants – which is a very appealing attribute for indoor plants
- LECA is an organic, sustainable resource that can be reused for many gardening projects
- LECA possesses many favorable attributes, such as excellent aeration and water-retaining properties that plants require for a healthy root system.
Why We Love LECA @ the Garden Bench Top
We fell in love with LECA clay pebbles because they are the ideal soilless medium we require for the aeroponic system we are experimenting with for herbs and vegetables.
But to transition our seedlings and plants to our growing aeroponic system, we had to transplant them from the soil.
Here is the process we used to transplant plants from soil to LECA clay pebbles successfully.
Step-by-Step Instructions Transplanting from Soil to LECA
Patience is key to successfully transplanting seedlings (or plants) from soil to LECA.
Plants are fragile and can easily fall into shock when their ambient environment changes too quickly or abruptly.
Removing a plant from the soil is a traumatizing experience, and love and care should be paramount at each step of the process.
Now that we have addressed the key to a happy outcome let’s begin.
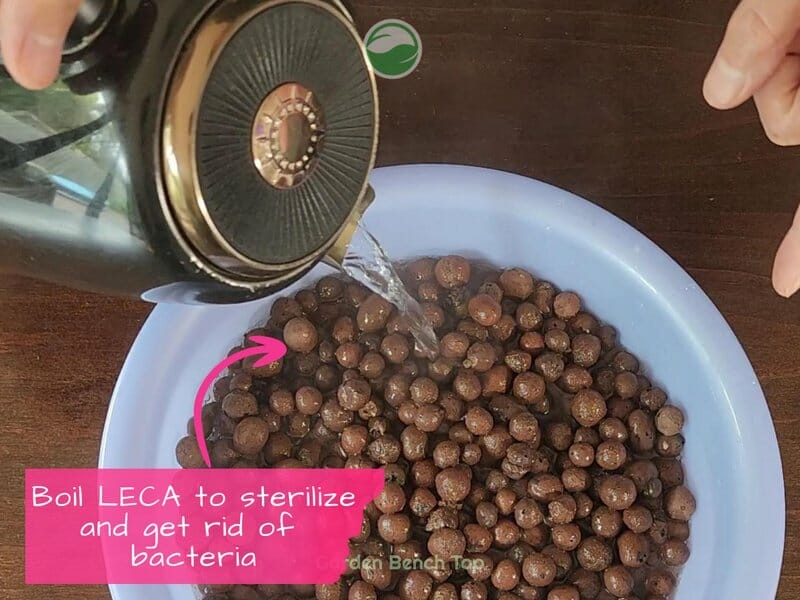
1. Sterilize and Prepare Your LECA
We recommend a thorough cleaning and sterilization if you are using LECA for the first time, fresh out of a new bag, OR reusing LECA balls.
Fresh LECA from a bag will likely only need cleaning of the dust and sediment produced during transit from the manufacturer to the stores. They won’t require sterilization because, in theory, they have come directly from a high-temperature kiln which should have eliminated any bacteria or unwanted pests.
However, if you are reusing LECA from a previous gardening project, we recommend boiling it for at least 8-10 minutes to sterilize it completely.
Even if you have dried and stored your LECA for an extended period, bacteria may still be present on the hydroton balls in a dormant form.
To clean your LECA, check out our beginner’s guide HERE.
Once your LECA is clean, soak them for 60 minutes to saturate the balls.
2. Clean and Prepare Your Plants
Squeeze the sides of your pot to loosen the soil’s grip, and gently slide your plants out of their container.
Loosen the soil around the root ball and remove as much dirt as possible. Be careful not to damage the roots in the process.
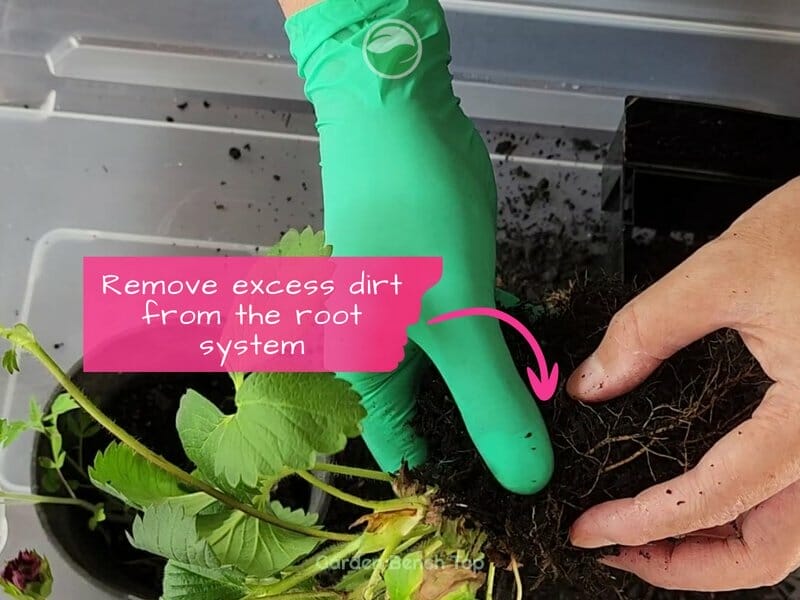
Rinse the root system under tepid tap water to wash away any remaining soil.
We like to take this opportunity to perform a health check on the roots. If you see any rotten or damaged roots, remove them with sterilized garden scissors.
Repeat the above process for each of your plants.
3. Settling your Plants in LECA
It’s time to start setting your plants up in their new home.
Your end goal (indoor plants vs. aeroponic systems) will determine how to plant your plant babies into their LECA-filled pots. So that we have everyone covered, we’ve described the two methods below.
Setting Up Indoor Plants in LECA
If you are using LECA for potted indoor plants, fill the new pots with the presoaked LECA clay pebbles until it is approximately 1/3 full. It doesn’t have to be exact. However, we want some room for the roots to grow downwards.
Lower your plant into the pot and spread the roots out evenly over the LECA balls.
While still holding your plant in place, fill the container with more LECA until it can hold its own in the soilless media.
Gently tap the sides of the container to settle the LECA further.
Fill the rest of the container with LECA until it is just below the top edge. Be careful not to overfill the LECA. They tend to fall out and roll onto the ground if you get too LECA happy.
Setting Up Seedlings for Hydroponic and Aeroponic Systems
A different approach is required for their setup when using LECA clay pebbles for an aeroponic or hydroponic system.
Most growing systems have netted baskets that allow a plant’s roots to grow through and reach down into the nutrient-rich water solution or vapor (in the case of aeroponics).
Here is a picture of our netted baskets from our Air Garden.
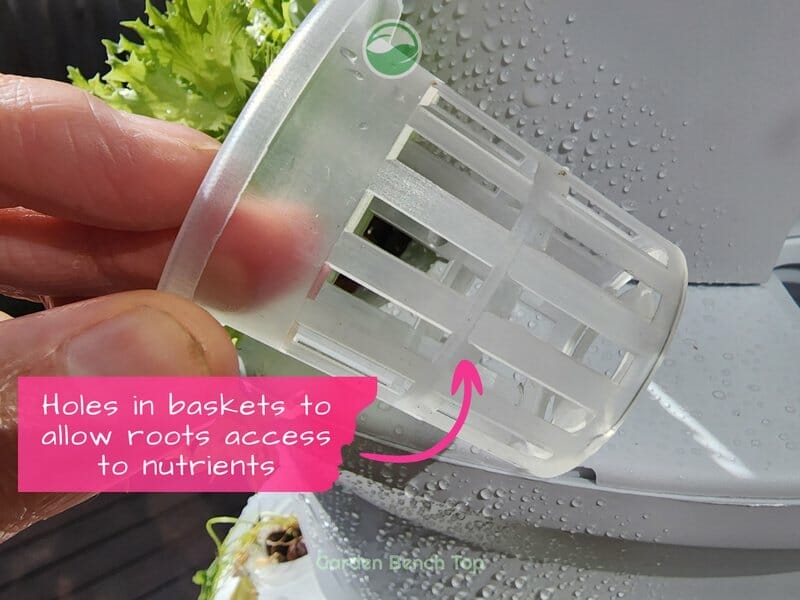
So, unlike planting indoor plants, we want the plant roots to sit at the bottom of the baskets. Or better yet, protruding through the gaps in the basket, ensuring they have ready access to nutrients and water.
We like to carefully thread the primary roots through the gaps and fill the containers with LECA. This step is optional and can be a bit fiddly. So If you cannot get the roots through the holes, don’t stress.
They should still naturally grow down as your seedlings develop.
4. Transition Phase
If you only take one thing away from this process, make it this step.
Always allow your plants time to transition to their new environment and growing medium.
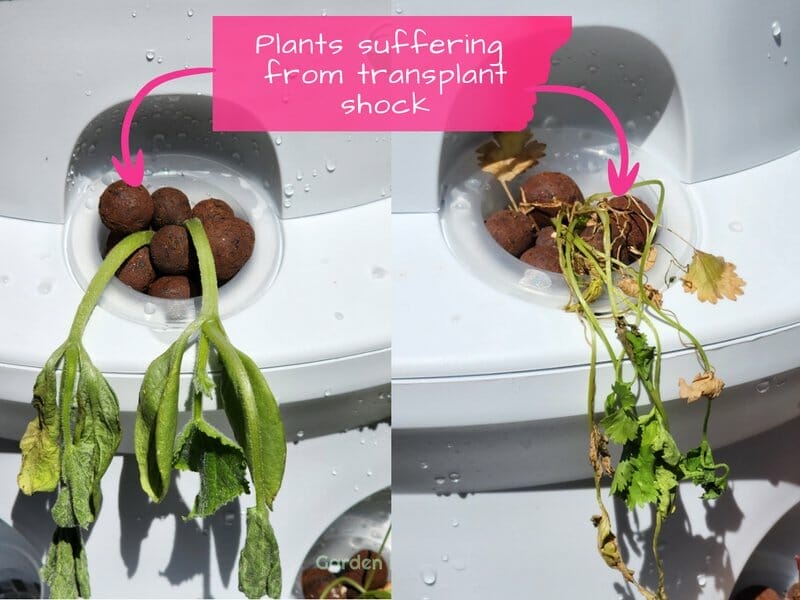
Transition your soil-based plants to water-based medium over a few days
It is easy to skip or rush this step, and the plants suffer transplant shock. Leaving them weakened and looking wilted and dying?!
Believe us – we know from experience!😔😟😩💔
For indoor plants, fill the pot with filtered or distilled water to a level below their root system. The LECA will draw the water from below and supply your plant.
For seedlings destined for aeroponic systems, place them into a catch pot (a pot that suspends the container but still allows water to reach the roots). This will prevent the roots from becoming crushed.
Place your seedlings into a water tray and fill it with just enough filtered or distilled water so the roots can touch the surface.
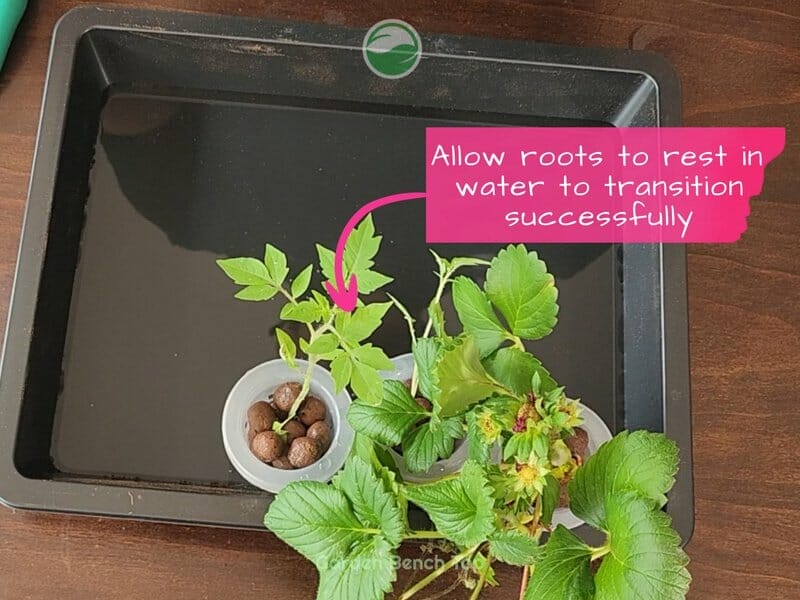
Leave your plants to transition for a few days, or, if you want to be extra cautious, allow them a week to adjust to their new medium.
Place them in a position that receives plenty of indirect light. Direct sunlight will be too intense and threaten your plants during this fragile phase.
5. Adding Liquid Fertilizer
At some point during the transition, your plants and seedlings need to adjust to receiving their nutrients from the water.
As LECA is a neutral material, it does not contain any natural minerals and nutrients for plants. This means you will need to supplement the nutrients via a liquid fertilizer.
Use a specialized hydroponic liquid fertilizer to feed your plants. Unfortunately, regular plant fertilizer does not contain all the necessary nutrients for plants growing in a soilless system.
Alternatively, there are plenty of options online at marketplaces like Amazon.
We recommend adding a half-measure of the manufacturer’s recommended dose of liquid fertilizer to the water tray during the previous step to assist your plants in the transition from soil.
6. pH Levels – One Last Test
There is one last metric we need to test before we can leave our plants in peace.
Getting your pH levels are vital for hydroponic or semi-hydroponic plants. The pH will determine your plant’s ability to absorb the nutrients.
pH measures determine if your water solution is acid or alkaline. Each plant requires a different pH level, but as a general rule of thumb, if you keep your levels between 5.5 – 6.5, your plants should still thrive.
Not keeping your pH levels in check will ultimately starve your plants of food, resulting in weak, unproductive, and unhappy plants.
Keep your pH levels between 5.5 to 6.5.
There are several pH testing kits that you can use. They range from paper strip tests to more sophisticated test tube kits and digital testers.
7. Weekly Maintenance
Finally, to round out the process, we thought we’d close off with a quick weekly maintenance checklist to ensure your plants are kept happy and thriving.
- Water levels – as your plants grow, they will absorb water. You may also lose a bit of water from evaporation. So you must keep an eye on the water in your system or pot. The water level depletion rate will differ between plants and the time of the year. So it is hard to give a good general recommendation. But when you top your water up, remember to use distilled or filtered water.
- pH levels – as we identified earlier, the proper pH levels are imperative to your plants’ ability to absorb nutrients. Therefore, it is important to continually test and ensure the levels stay between 5.5 and 6.5.
- Nutrients – your plants will absorb nutrients as they develop. These nutrients will need to be replaced. The easiest way to monitor nutrient levels is to top up your nutrients when you add more water to your plants. Follow the manufacturer’s instructions on the packaging to identify how much liquid fertilizer to add.
Note, if you notice any nutrient build-up in the form of a white residue on your LECA, you must flush your medium.
This involves a full and thorough cleaning of the baked clay balls. To do this, remove the LECA from your plant and run it under hot water for 5 minutes. Ensure all the LECA is exposed to the running water for good flushing.
Use this opportunity to give your pot a good cleaning and inspect the roots of your plants to remove any dead debris.